
This guide is about how to connect ServiceNow and PowerBI via REST API, in order to build reports and publish them on PowerBI Service.
This way, we will be able to share ServiceNow information with our colleagues on Microsoft Teams, access from mobile and use all the opportunities PowerBI provides us.
Building the REST call
First, you need to build the REST call that will be made by PowerBI to get the data in ServiceNow.
To do this, we can use the Rest API Explorer tool to help us, which is already included in ServiceNow.
Furthermore, our user must have the “rest_api_explorer” role. If he does not, you can still design the call to an administrator user or with the correct role.
Then, we must select the ServiceNow table containing the data we are interested in (for example the incident table) and press “Sent”.

After loading, ServiceNow will show us the call (highlighted in blue in the screenshot) to provide to PowerBI

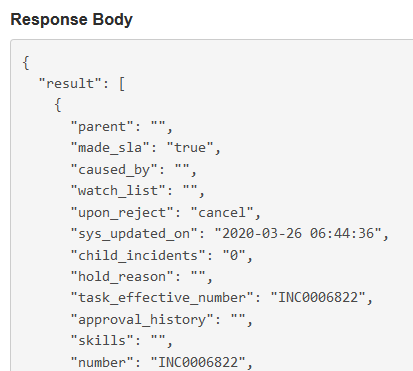
Here is a preview of the answer
In-depth information:
At this step, you can apply filters, choose the fields to be shown in the body and many other options.
In particular, by choosing the fields you can use dot-walking to get information.
For example, in case you want to get the incident table records having only “number”, “opened_by” and “short_description” fields this will be the call:
https://YOUR-SERVICENOW-INSTANCE.service-now.com/api/now/table/incident?sysparm_fields=number%2Copened_by%2Cshort_descriptionAnd this the result:
{
  "result": [
    {
      "number": "INC0000060",
      "short_description": "Unable to connect to email",
      "opened_by": {
        "link": "https://YOUR-SERVICENOW-INSTANCE.service-now.com/api/now/table/sys_user/681ccaf9c0a8016400b98a06818d57c7",
        "value": "681ccaf9c0a8016400b98a06818d57c7"
      }
    }
  ]
}
The “opened_by” field is a reference to the users table, therefore to display the value shown to users you need to add the “sysparm_display_value” parameter to the call by setting it to true
This will be the call:
https://YOUR-SERVICENOW-INSTANCE.service-now.com/api/now/table/incident?sysparm_display_value=true&sysparm_fields=number%2Copened_by%2Cshort_descriptionAnd the following result:
{
  "result": [
    {
      "number": "INC0000060",
      "short_description": "Unable to connect to email",
      "opened_by": {
        "display_value": "Joe Employee",
        "link": "https://YOUR-SERVICENOW-INSTANCE.service-now.com/api/now/table/sys_user/681ccaf9c0a8016400b98a06818d57c7"
      }
    }
  ]
}
To avoid “opened_by” to be seen in PowerBI as a record, we can use the parameter “sysparm_exclude_reference_link”, by setting it to true, to make ServiceNow directly return the display value. Call:
https://YOUR-SERVICENOW-INSTANCE.service-now.com/api/now/table/incident?sysparm_display_value=true&sysparm_exclude_reference_link=true&sysparm_fields=number%2Copened_by%2Cshort_description Result:
{
  "result": [
    {
      "number": "INC0000060",
      "short_description": "Unable to connect to email",
      "opened_by": "Joe Employee"
    }
  ]
}
You can also use dot walking to get information from reference fields, as shown with “opened_by”.
In case we want to get the email address of the user who opened the case, it will be enough to edit the part of the call where we select the fields to show.
It’s just going to have to be edited from this:
sysparm_fields=number,opened_by,short_description To this:
sysparm_fields=number,opened_by,opened_by.email,short_description
And once made the call:
https://YOUR-SERVICENOW-INSTANCE.service-now.com/api/now/table/incident?sysparm_display_value=true&sysparm_exclude_reference_link=true&sysparm_fields=number%2Copened_by%2Copened_by.email%2Cshort_description This will be the response:
{
  "result": [
    {
      "number": "INC0000060",
      "short_description": "Unable to connect to email",
      "opened_by.email": "employee@example.com",
      "opened_by": "Joe Employee"
    }
  ]
}
Connection to PowerBI
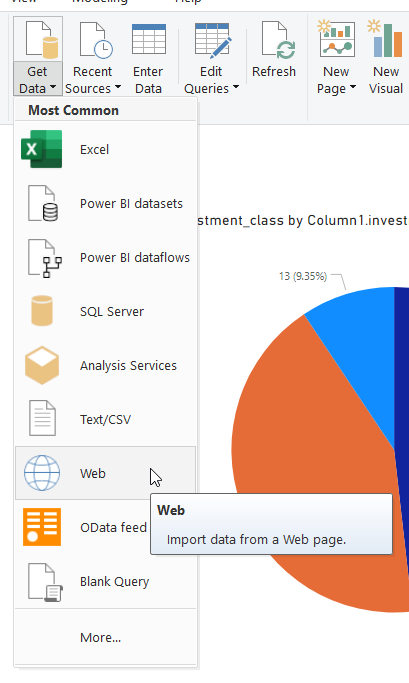
Once the call is ready, we can switch to PowerBI Desktop to enter the data source and create the report.
First you will need to create a new Data Source, Web type
Then enter the previous call created in ServiceNow
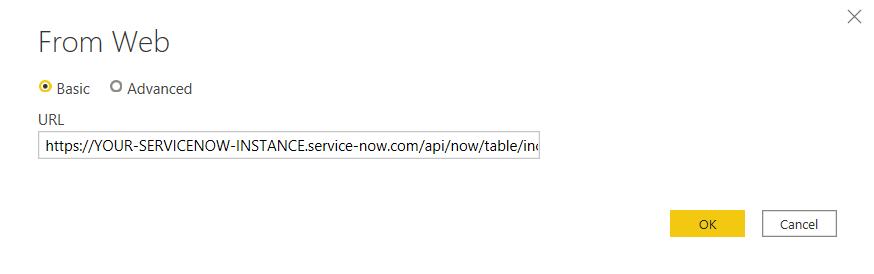
Important: remove the final parameter (&sysparm_limit=1) to avoid having a maximum limit of results
The first connection will require some credentials: you can use your local ServiceNow credentials
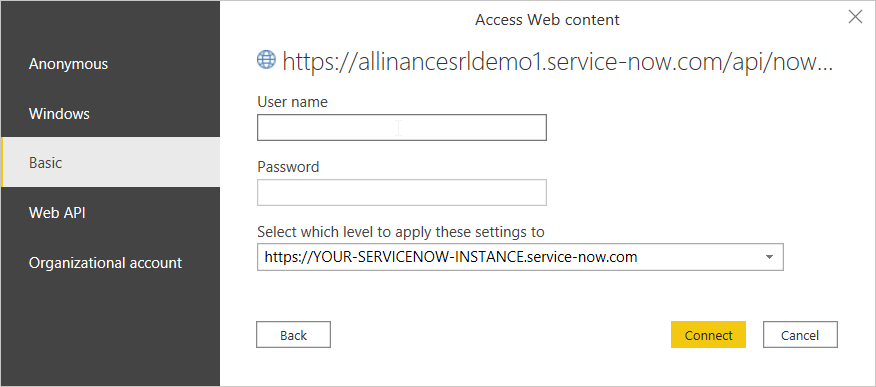
The resulting data will respect the user’s security (ACL and any business rule before query), so be careful and, if necessary, create a dedicated reporting user.
In order to make the data usable you need to:
- Convert the data into tables
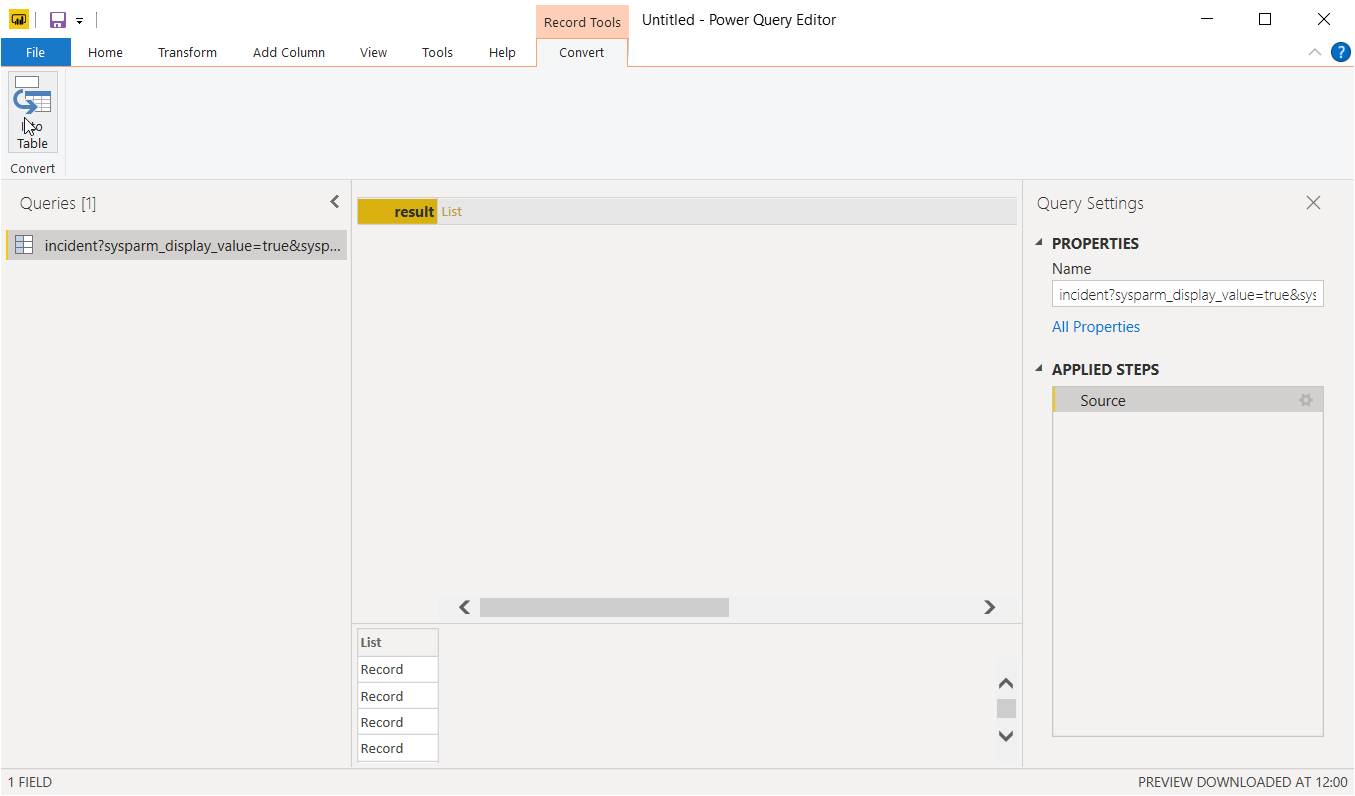
- Expand the rows

- Expand the columns
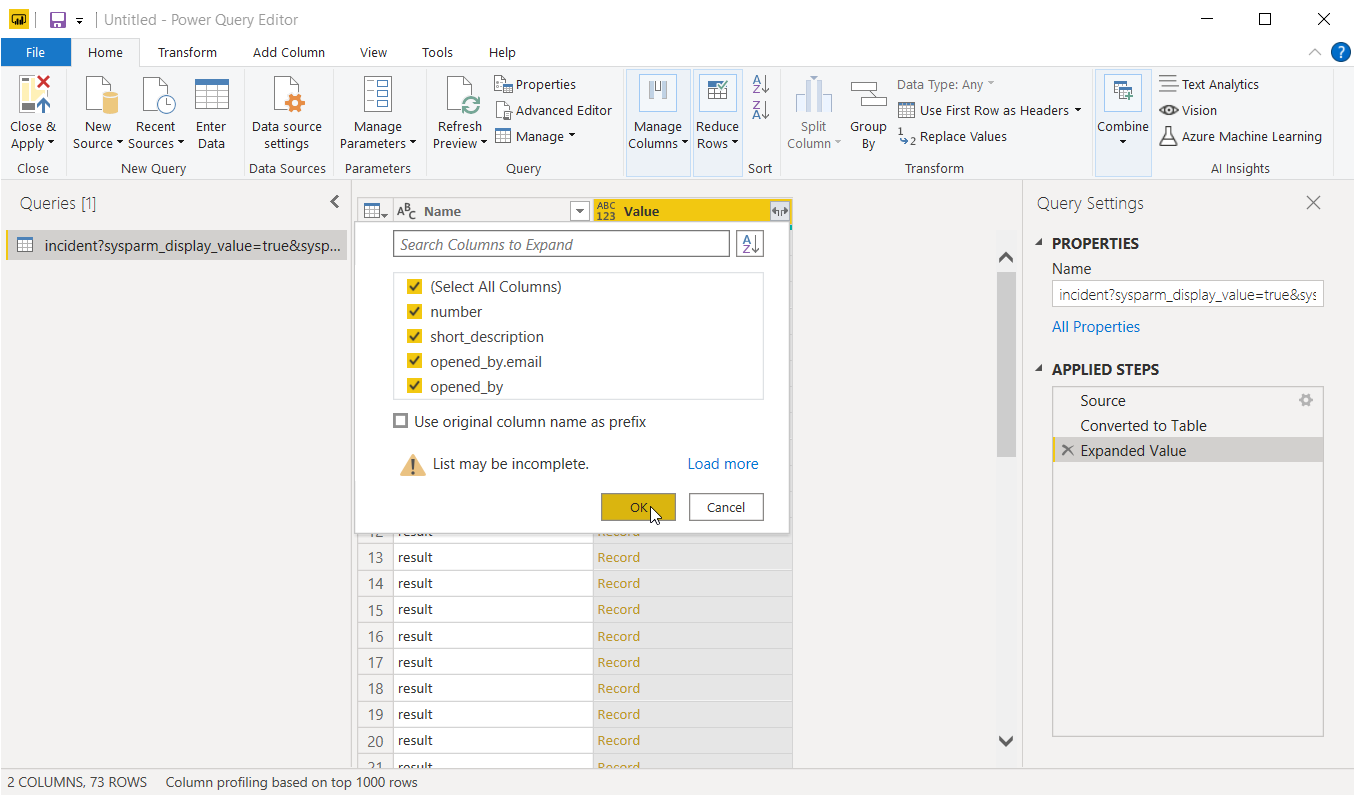
- Press “Close and Apply”
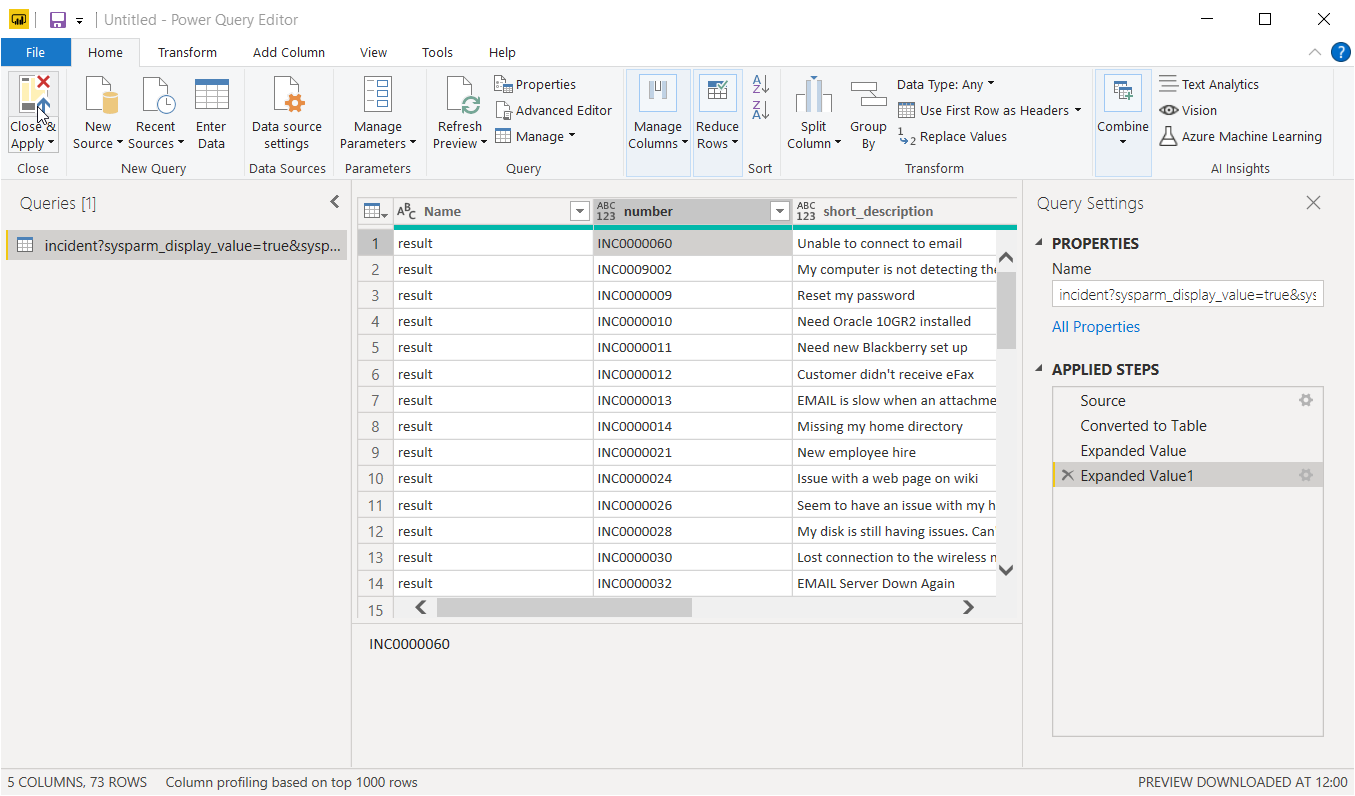
Now PowerBI Desktop will have taken us back to the work screen and, on the right, the table and fields we imported from ServiceNow will appear
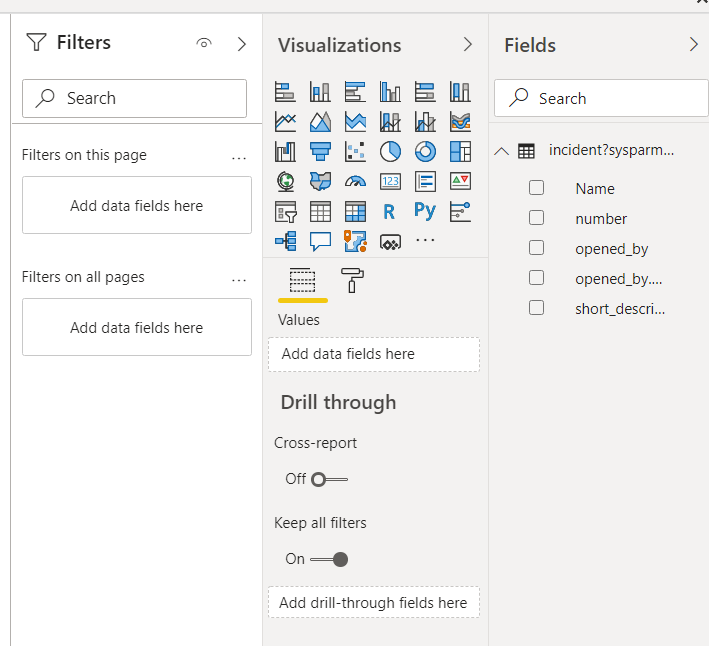
Now we can create the report, like the one here attached:
ServiceNow ITSM Incident Dashboard PowerBI
Once finished you can share it on PowerBI Service through the path “File” “Publish” “Publish to PowerBI”. If shared on “My Workspace”, it will be accessible via web and mobile. This way, you can share it with other colleagues and also via Microsoft Teams.