
Let’s start with an important distinction: if the language you are interested in is one of this in the list, all you have to do is installing the dedicated plugin and you won’t need to do anything else.
If it is not listed (as in the case of Luxembourgish 🇱🇺, for example), a few additional steps are required to make it selectable for users.
To begin with, install the plugin “I18N: Internationalization” (id com.glide.i18n)
After installation navigate to “System Localization” –> “Languages” and create a new record.
Use as “id” the two-character language code. Here the full list: https://www.loc.gov/standards/iso639-2/php/code_list.php

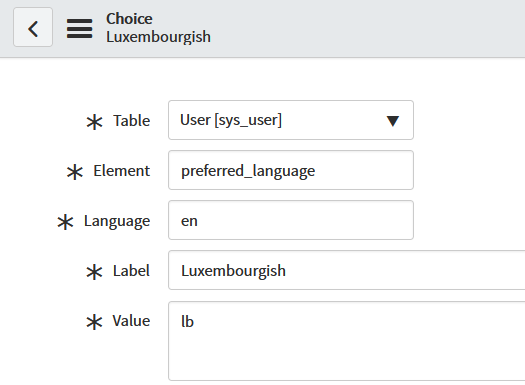
Then create a new choice with the followings value:
Table –> sys_user
Element –> preferred_language
Language –> en
Label –> Name of the language set in the previous step
Value –> two-character language code
This way, the new language can be chosen at login or set for the individual user.

Users will now be able to choose the new language, but it is necessary to insert the translations in the new language. If there are no translations, they will be shown in English.
The texts to be translated are listed in these tables:
Translated Name / Field –> sys_translated
Message –> sys_ui_message
Field label –> sys_documentation
Choice –> sys_choice
Translated Text –> sys_translated_text
It is advisable to export the texts from these tables so that professional translators can work on the translations.
Once the translation is complete, it can be reinserted into the system via import set.